Heat Transfer Vinyl

Apraksts
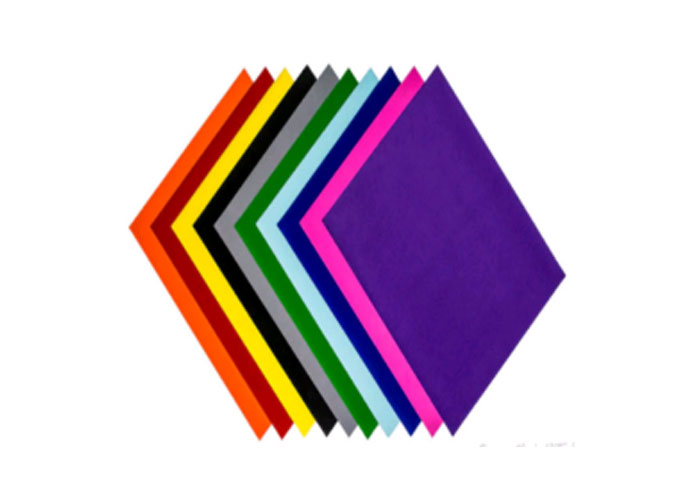
Heat transfer vinyl(HTV) is the polyurethane(PU) or polyvinyl chloride(PVC) material also can be called T-shirt transfer vinyl. These have standard block colors and for the printable HTV often requires a solvent or eco-solvent ink to print a full-color design on the vinyl. As a heat transfer wholesale suppliers, we have a professional process. Firstly to create a design, cut it by plotter, weed and peel off the excess vinyl, then heat press on to fabrics, sportswear, t-shirts, hats, shoes or other textiles.
Heat Transfer Vinyl Uses
Open the cutting software and horizontal mirror the design.
Move the image into the cutting area and adjust the setting to heat transfer vinyl.
Select either 'smooth' or 'flocked' according to your vinyl thickness.
Load the heat transfer vinyl on the cut machines with the transparent plastic backing side down and begin to cut.
Use a pin to weeding the waste vinyl from the cut design.
Turn over the vinyl to keep the transparent plastic backing side above and place the image side on your fabric.
Heat press or iron on the heat transfer vinyl for around 30 seconds with a temperature of 150 degrees. The pressing time and temperature adjust by your fabric need.
Waiting for the cool then peel off the transparent plastic.
If the vinyl also peels off from the fabric, then you need to do one more time heat press or iron until the vinyl is fixed well on the fabric.
How To Apply Heat Transfer Vinyl With Iron?
Turn off the steam function and select the cotton setting.
Using the iron on the smooth firm table.
Iron t-shirt to remove moisture and wrinkles.
Keep the design carrier sheet side up and cover it with a layer of proof paper.
Iron on the heat transfer vinyl(HTV) with recommended time and temperature.
Press from one side area to another side area step by step.
Finding the press time and pressure is very important because if too long you may melt the adhesive and if you don't press for long enough or firmly enough, it may come off.
Peel off the carrier sheet by hot peel, warm peel, or cold peel.
How To Cut Heat Transfer Vinyl
1. Open the cutting software and horizontal mirror the design.
2. Move the image into the cutting area and adjust the setting to heat transfer vinyl
3. Select either 'smooth' or 'flocked' according to your vinyl thickness
4. Load the bulk heat transfer vinyl on the cut machines with the transparent plastic backing side down and begin to cut.
5. Use a pin to weeding the waste vinyl from the cut design.
6. Turn over the vinyl to keep the transparent plastic backing side above and place the image side on your fabric.
7. Heat press or iron on the heat transfer vinyl for around 30 seconds with a temperature of 150 degrees. The pressing time and temperature adjust by your fabric need.
8. Waiting to cool then peel off the transparent plastic.
9. If the bulk htv vinyl also peels off from the fabric, then you need to do one more time heat press or iron until the vinyl is fixed well on the fabric.
Questions and Answers About Heat Transfer Vinyl
What do you use heat transfer vinyl for
Here are some common uses of HTV:
Custom apparel: People can use HTV to create custom designs on t-shirts, sweatshirts, hoodies, and other types of apparel.
Personalization: HTV can help to add names, initials, or other personalized details to garments.
Sports uniforms: HTV is commonly used to create custom designs on sports jerseys, hats, and other athletic apparel.
Branding: HTV is often applied to add logos or other branding elements to company uniforms, promotional items, and other merchandise.
Home decor: HTV can be used to create custom designs on pillows, blankets, and other home decor items.

